Battle of Towton
From Warlike
Q634629
The Battle of Towton took place on 29 March 1461 during the Wars of the Roses, near Towton in North Yorkshire. Yorkist forces decisively defeated Lancastrian supporters of Henry VI, securing the English throne for Edward IV. Fought for ten hours between an estimated 50,000 soldiers from both sides in a snowstorm on Palm Sunday, it was "probably the largest and bloodiest battle on English soil".
1461
Wikimedia, Wikidata
Kingdom of England, 
- National Heritage List for England page@
- Grade I listed building page@
- Grade II listed building page@
- Grade II listed park and garden page@
- Grade II* listed building page@
Location: 53.8397, -1.2683, KML, Cluster Map, Maps,
40 places
-

ⓘ
1461-03-29T00:00:00Z
1461-03-29T00:00:00Z
1461 Battle of Towton
{"selectable":false,"showCurrentTime":false,"width":"100%","zoomMin":100000000000}
 Earlwarwicksvow large
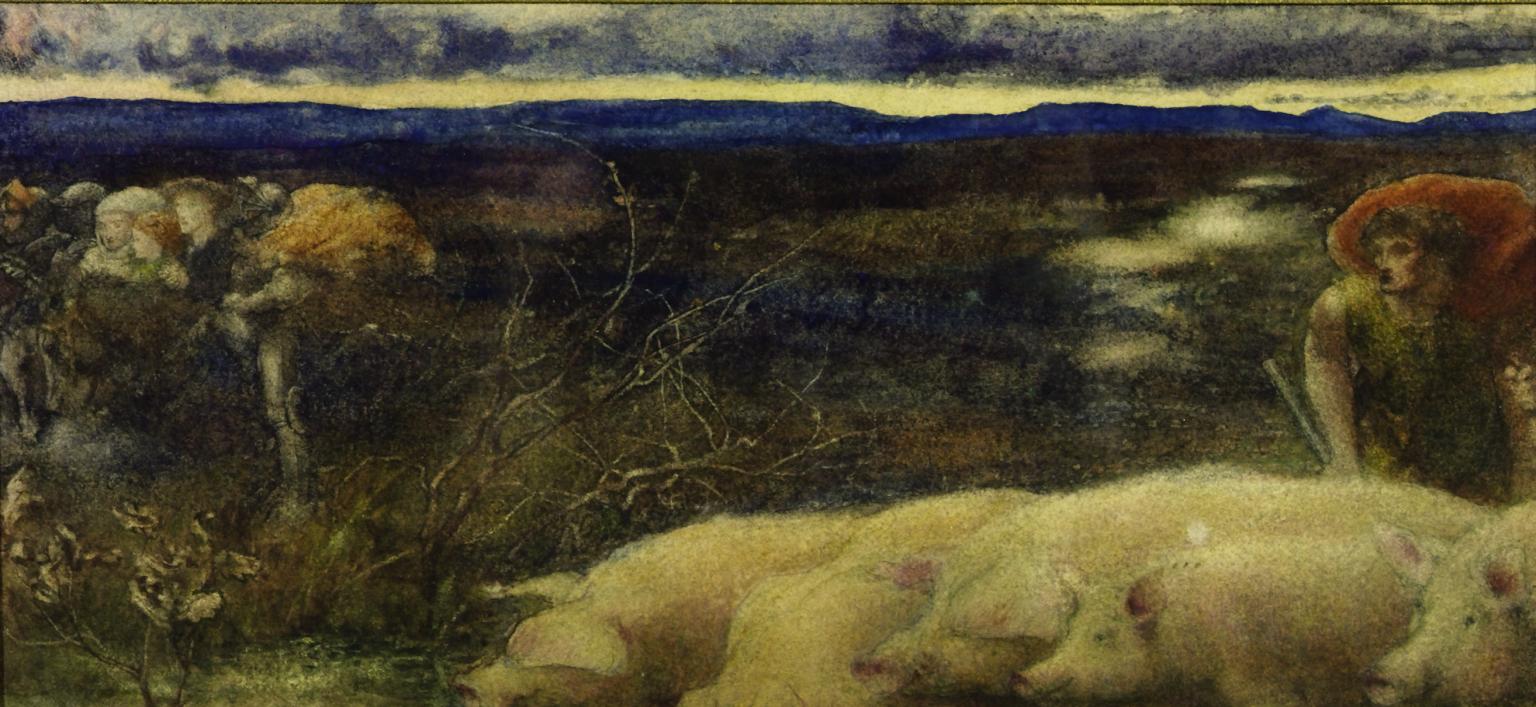 The Flight of Henry VI from Towton (Windus)
 The Flight of Henry VI from Towton by William Lindsay Windus
 The Battle of Towton by John Quartley
 Francois Gravelot's Henry VI Act 2 Scene 5 (crop 2)
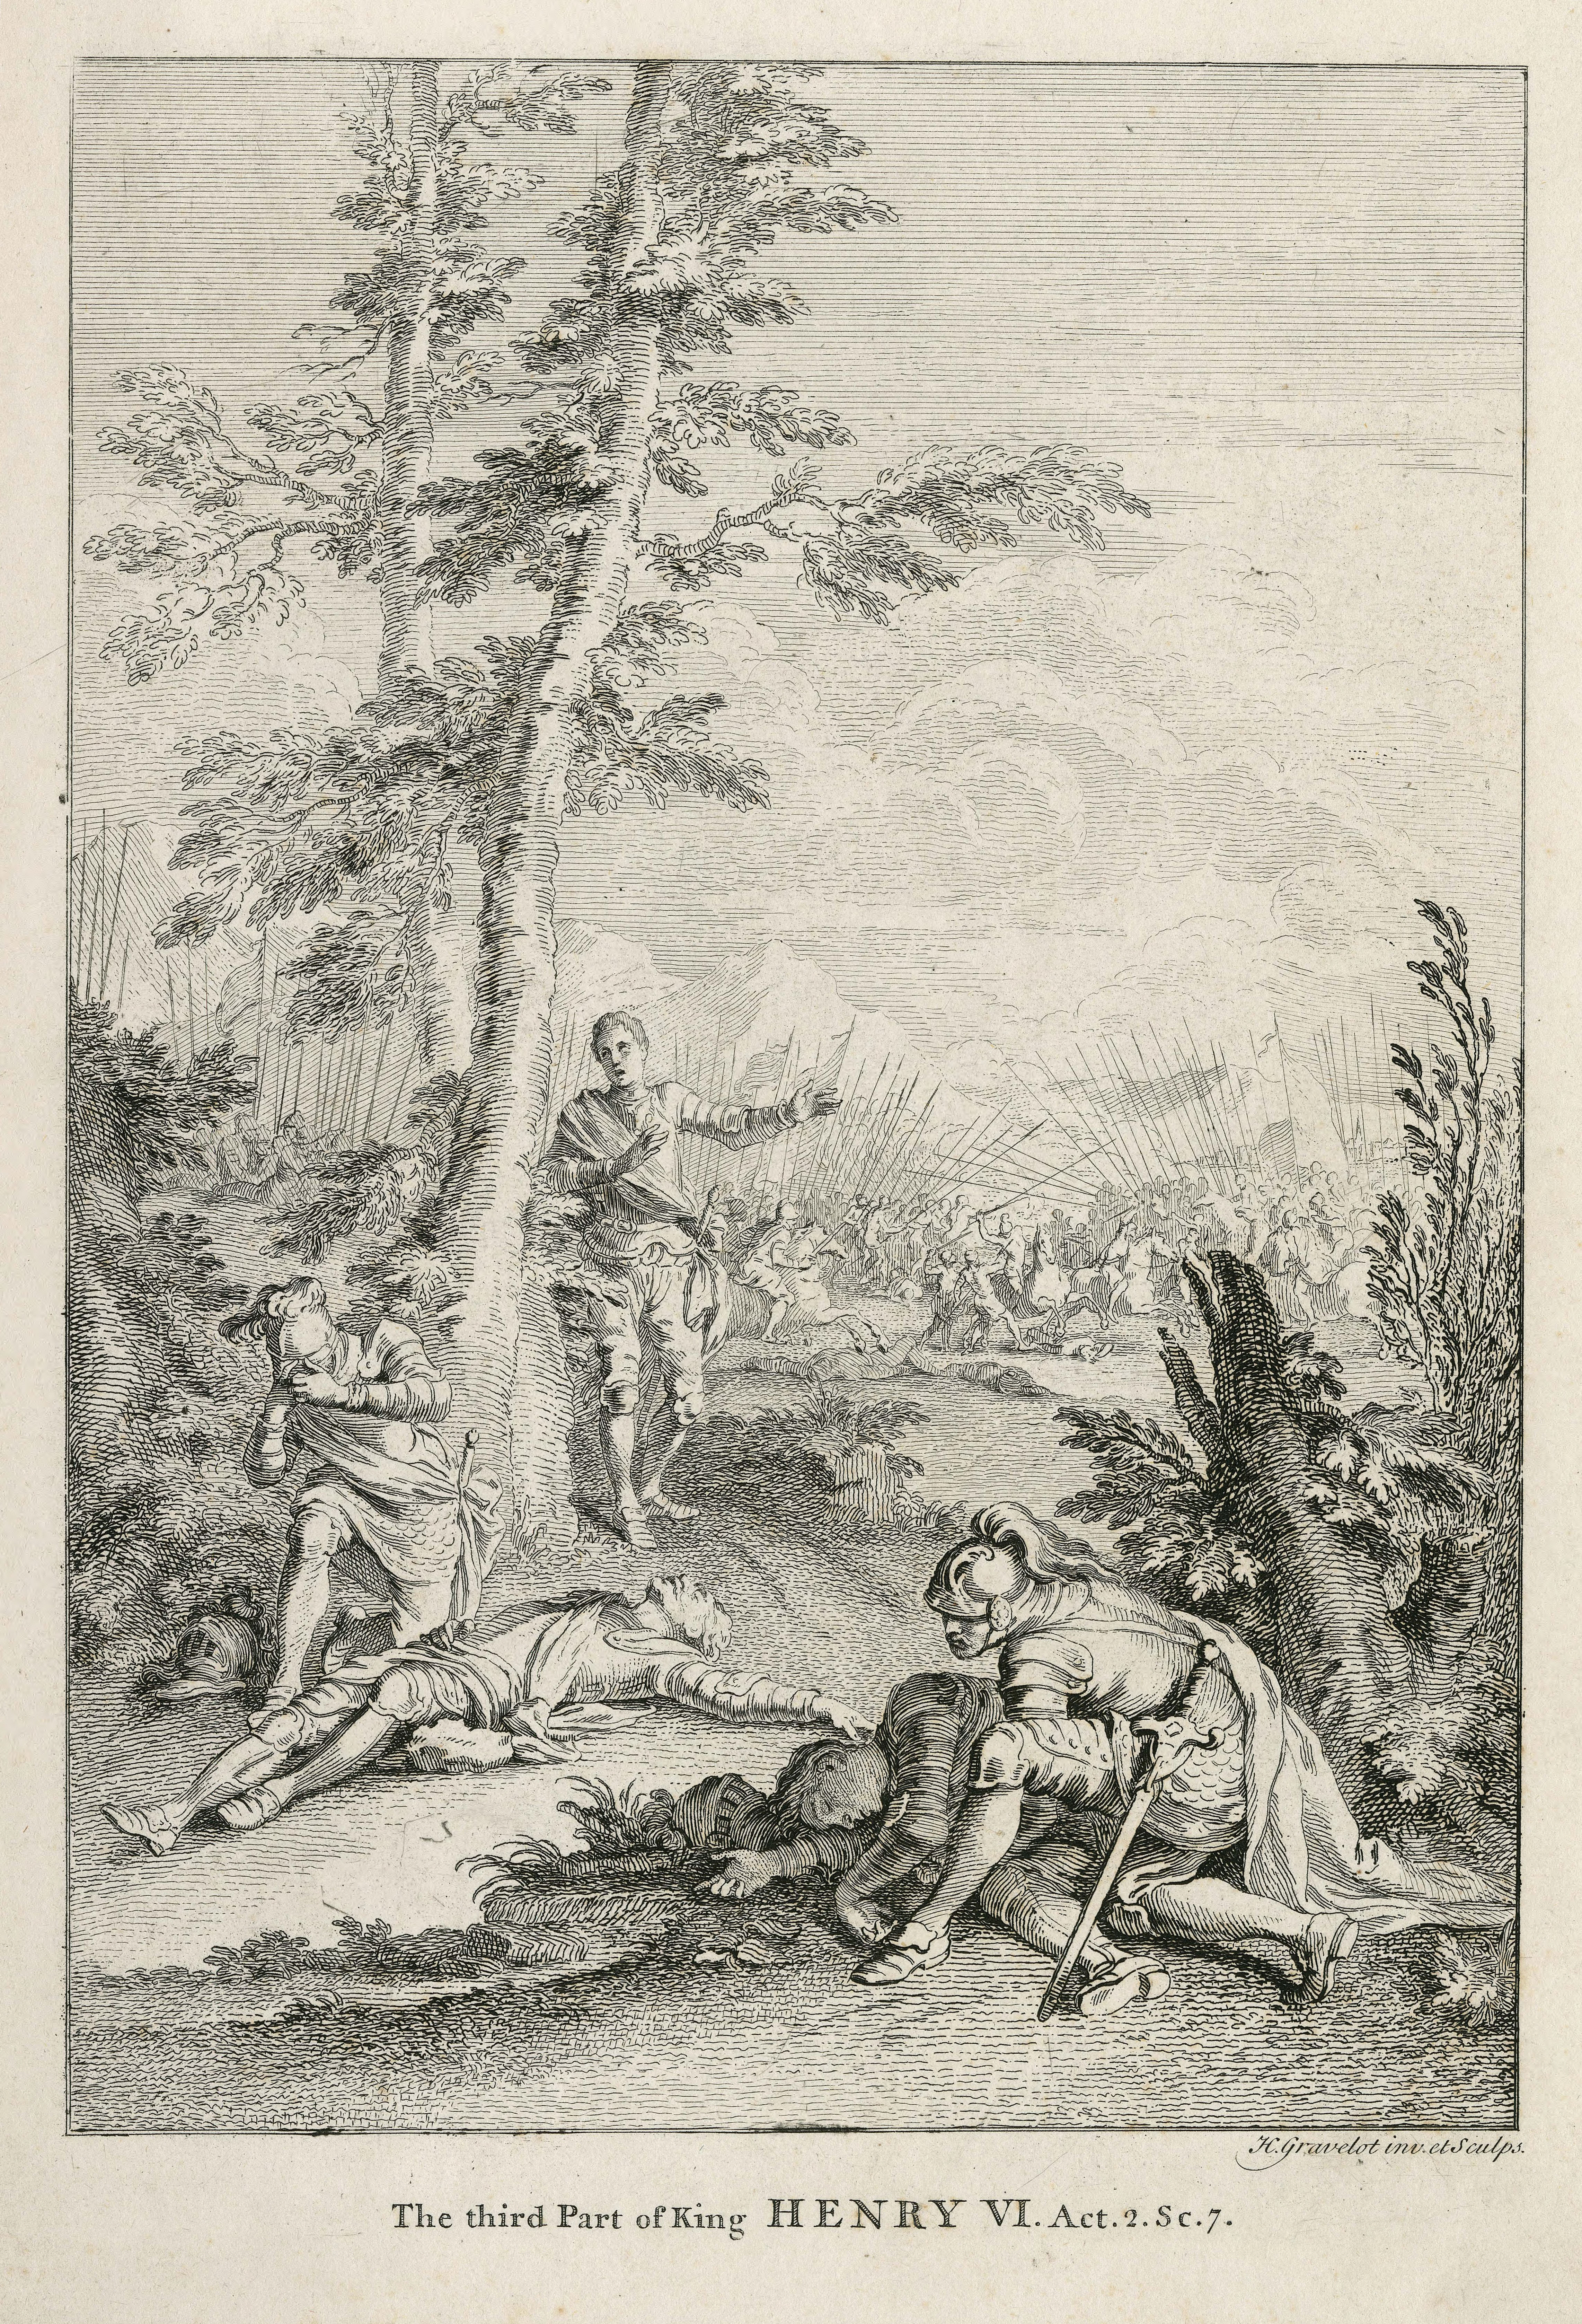 Francois Gravelot's Henry VI Act 2 Scene 5
 Henry VI Act 2 Scene 5 by Francois Gravelot
 Francois Gravelot's Henry VI Act 2 Scene 5 (crop)
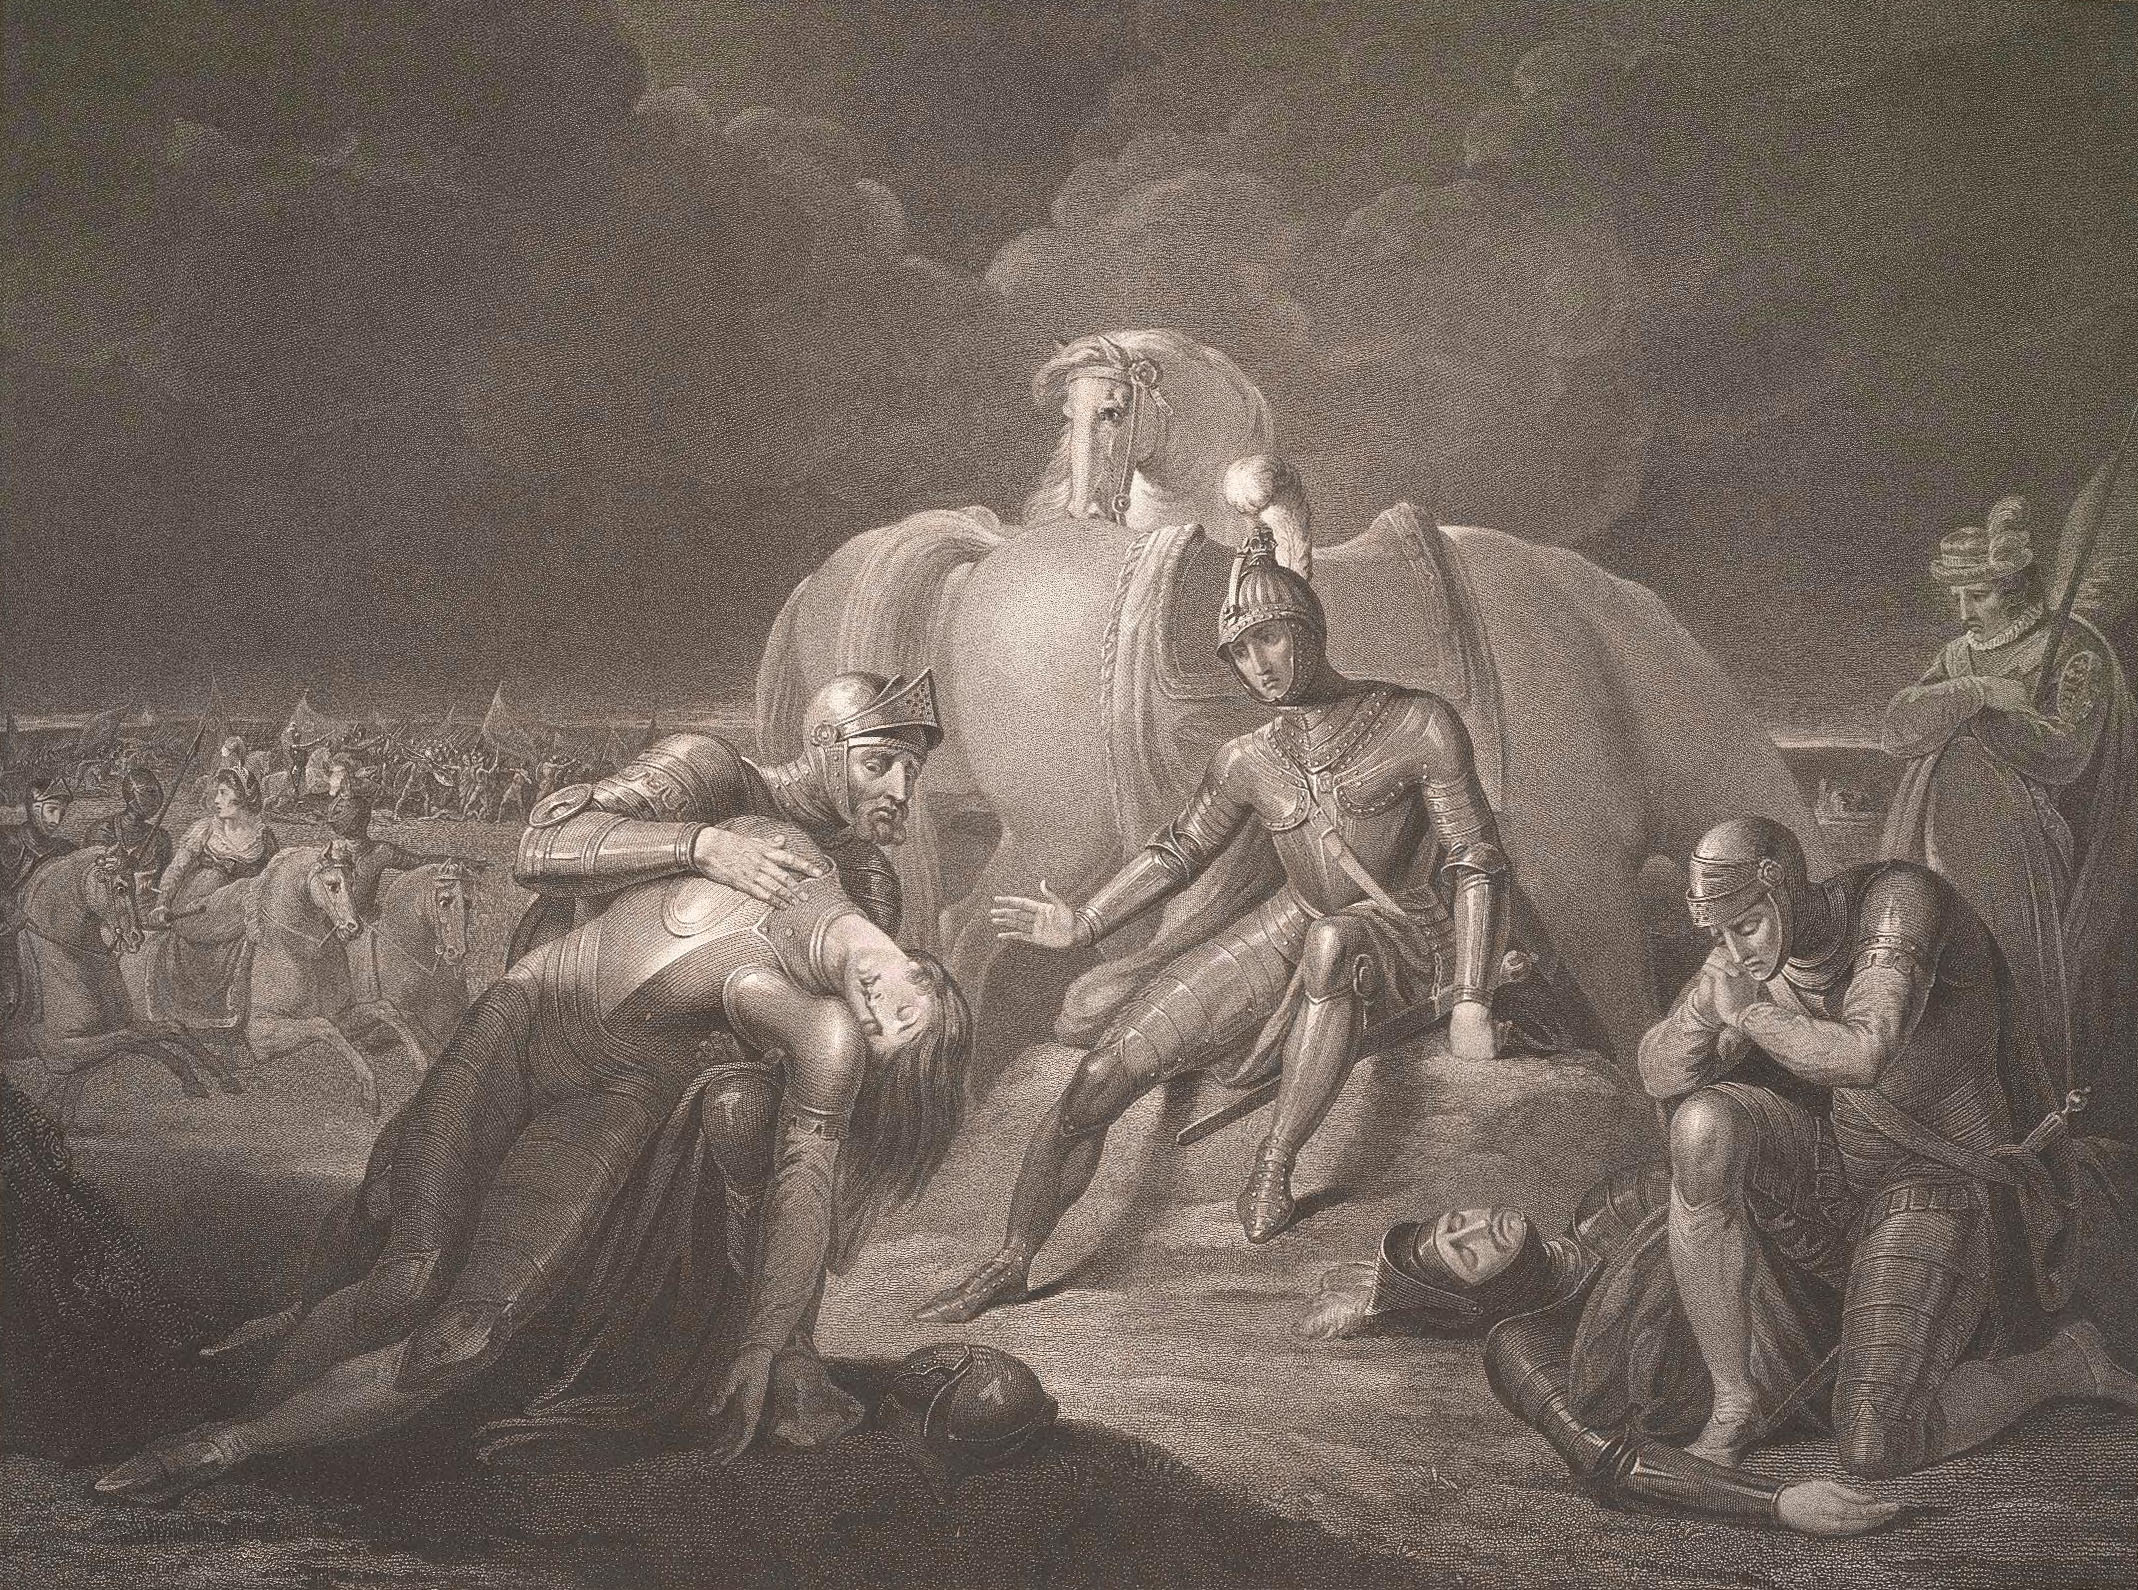 Battle Near Towton tone
 Battle Near Towton
- Killing Time: Challenging the Common Perceptions of Three Medieval Conflicts—Ferrybridge, Dintingdale and Towton—'The Largest Battle on British Soil' - scholarly article by Tim Sutherland published June 2009 in Journal of Conflict Archaeology
| Type | Subtype | Date | Description | Notes | Source |
|---|---|---|---|---|---|
| area | region | 500 | Elmet | Wikidata | |
| event | armed conflict | Battle of Sherburn in Elmet | battle | Wikidata | |
| event | armed conflict | 575 | Battle of Gwen Ystrat | legendary battle | Wikidata |
| event | armed conflict | 655 | Battle of the Winwaed | battle, Oswiu of Northumbria, Penda of Mercia | Wikidata |
| event | armed conflict | 867 | Battle of York | Kingdom of Northumbria, battle, Great Heathen Army | Wikidata |
| event | armed conflict | 1066 | Battle of Stamford Bridge | battle, Kingdom of England | Wikidata |
| event | armed conflict | 1066 | Battle of Fulford | battle, Kingdom of England, Norwegian Jarldom of Orkney, Kingdom of Norway | Wikidata |
| event | armed conflict | 1319 | Battle of Myton | battle | Wikidata |
| event | armed conflict | 1321 | Siege of Leeds | siege | Wikidata |
| event | armed conflict | 1322 | Battle of Boroughbridge | battle, Kingdom of England | Wikidata |
| event | armed conflict | 1408 | Battle of Bramham Moor | battle | Wikidata |
| event | armed conflict | 1460 | Battle of Wakefield | battle | Wikidata |
| event | armed conflict | 1461 | Battle of Towton | battle | Wikidata |
| event | armed conflict | 1461 | Battle of Ferrybridge | battle | Wikidata |
| event | armed conflict | 1536 | Pilgrimage of Grace | rebellion | Wikidata |
| event | armed conflict | 1642 | Battle of Tadcaster | battle, Cavalier, Roundhead | Wikidata |
| event | armed conflict | 1643 | Battle of Leeds | Cavalier, Roundhead, battle | Wikidata |
| event | armed conflict | 1643 | Battle of Seacroft Moor | Cavalier, Roundhead, battle | Wikidata |
| event | armed conflict | 1643 | Capture of Wakefield | battle | Wikidata |
| event | armed conflict | 1643 | Battle of Adwalton Moor | battle, Roundhead, Cavalier | Wikidata |
| event | armed conflict | 1644 | Battle of Selby | Cavalier, Roundhead, battle | Wikidata |
| event | armed conflict | 1644 | Siege of York | siege | Wikidata |
| event | armed conflict | 1644 | Battle of Marston Moor | Roundhead, Covenanters, Cavalier, battle | Wikidata |
| link | page | National Heritage List for England page@ | Wikidata | ||
| link | page | Grade I listed building page@ | Wikidata | ||
| link | page | Grade II listed building page@ | Wikidata | ||
| link | page | Grade II listed park and garden page@ | Wikidata | ||
| link | page | Grade II* listed building page@ | Wikidata | ||
| organisation | shipbuilding company | 1884 | Cochrane Shipbuilders | shipbuilding company | Wikidata |
| site | artillery battery | Anti-aircraft gunsite 280m east of Carlton Hall | anti-aircraft battery | Wikidata | |
| site | bunker | Birkenshaw Anti-Aircraft Operations Room | Royal Air Force, bunker | Wikidata | |
| site | bunker | Leeds Regional War Room | bunker | Wikidata | |
| site | bunker | Leeds Royal Observer Corps Group Headquarters | Royal Observer Corps, bunker | Wikidata | |
| site | bunker | York Cold War Bunker | Royal Observer Corps Group Headquarters, military museum, English Heritage, bunker | Wikidata | |
| site | bunker | 1918 | RAF Shipton | Royal Air Force station, air base, bunker | Wikidata |
| site | castle | Harewood Castle | castle | Wikidata | |
| site | castle | Ripley Castle | historic house museum, castle, house | Wikidata | |
| site | castle | Sandal Castle | motte-and-bailey castle, castle | Wikidata | |
| site | castle | Wakefield Castle | castle | Wikidata | |
| site | castle | 1100 | Knaresborough Castle | local authority museum, local museum, castle | Wikidata |
| site | castle | 1400 | Spofforth Castle | English Heritage, castle | Wikidata |
| site | museum | York Army Museum | independent museum, military museum | Wikidata | |
| site | museum | 1885 | Tower Street drill hall | drill hall, military museum | Wikidata |
| site | museum | 1990 | The Kohima Museum | independent museum, military museum, museum | Wikidata |
| site | museum | 1996 | Royal Armouries Leeds | national museum, military museum | Wikidata |
| site | museum | 1998 | The Second World War Experience Centre | military museum | Wikidata |
| site | tower | 1245 | Clifford's Tower | English Heritage, keep | Wikidata |
| commons | image | Earlwarwicksvow large | Commons | ||
| commons | image | The Flight of Henry VI from Towton (Windus) | Commons | ||
| commons | image | The Flight of Henry VI from Towton by William Lindsay Windus | Commons | ||
| commons | image | The Battle of Towton by John Quartley | Commons | ||
| commons | image | Francois Gravelot's Henry VI Act 2 Scene 5 (crop 2) | Commons | ||
| commons | image | Francois Gravelot's Henry VI Act 2 Scene 5 | Commons | ||
| commons | image | Henry VI Act 2 Scene 5 by Francois Gravelot | Commons | ||
| commons | image | Francois Gravelot's Henry VI Act 2 Scene 5 (crop) | Commons | ||
| commons | image | Battle Near Towton tone | Commons | ||
| commons | image | Battle Near Towton | Commons | ||
.jpg)
.jpg)
.jpg)